 I know that many of you reading this blog have at least been introduced to Glogster. Students love Glogster and the age of the student doesn't seem to matter. It is fun because they can create a digital poster and things are posted in all different ways. Edcanvas is the new big thing and I compare it to Glogster. I recently attended ISTE 2013 and was able to meet two of the developers of Edcanvas. That was exciting for me. Amy and Harrison were wonderful and so excited about their new product. Let's get started creating!
You first want to sign up for an account at http://www.edcanvas.com/. They have a free version and there is also a paid version. The paid version is marked down to $3.00/month for a limited time - a $5.00 discount off their regular rates. In the paid version you can record audio and collaborate:
 I am finding the free version to work for me at this time so it is a personal choice for each individual.
There are a few things to take care of first. If you plan to use this with your class you will need to establish that first. So, after logging in - just click on Classes: 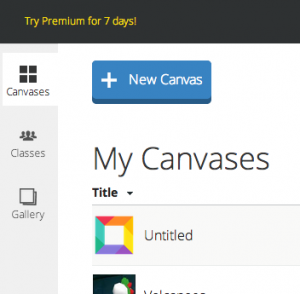 In the Classes section you will choose your grade level and name your class. After that you will be given a class code (similar to the Edmodo setup). This class code is what you give your students so when they create their accounts they can join your class!
 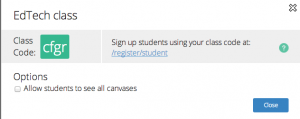 When your students create their account they will choose Student instead of teacher. It will ask for the class code.
 In the Classes section you will choose your grade level and name your class. After that you will be given a class code (similar to the Edmodo setup). This class code is what you give your students so when they create their accounts they can join your class!
  When your students create their account they will choose Student instead of teacher. It will ask for the class code.
Now you are ready to start creating. Click on  and start.
and start.  At the top you will see the options Templates, Themes, Play, Print and Autosave. Templates are the way your canvas is laid out and there are five options:
Themes are your two color scheme options: 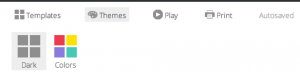

The Play feature is for when your canvas is complete. Also notice you can add a row at the bottom to make your canvas bigger.
Now that the basics are out of the way - how do you add content? Easy as pie!
On the right of your screen you will see  . You simply choose the content style you want (YouTube, Google, Flickr, Website, etc) and search from within Edcanvas. I'm going to search the Internet for the Fourth of July images (appropriate theme this week!). I will click the G (Google Search) and type in Fourth of July.
 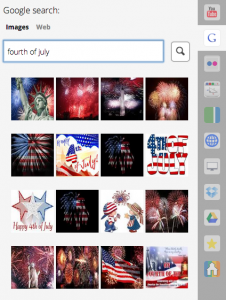 Now I will choose an image, drag it and drop it onto my canvas! EASY! If I want to put a website on a tile I need to know the website first, then click on the globe and type the website (or paste) into the box.
 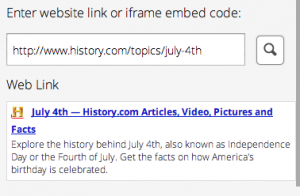 Just like the image - I click, drag and drop. I can add my own text or even create a quiz!
 . You simply choose the content style you want (YouTube, Google, Flickr, Website, etc) and search from within Edcanvas. I'm going to search the Internet for the Fourth of July images (appropriate theme this week!). I will click the G (Google Search) and type in Fourth of July.
  Now I will choose an image, drag it and drop it onto my canvas! EASY! If I want to put a website on a tile I need to know the website first, then click on the globe and type the website (or paste) into the box.
 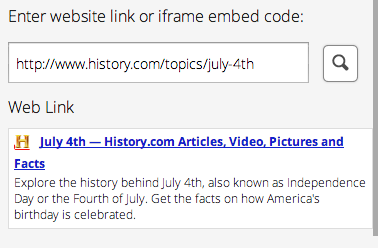 Just like the image - I click, drag and drop. I can add my own text or even create a quiz!
When I am finished I simply share, or play, with whoever I want to view it! The wonderful developers at Edcanvas give us several ways to share:
 Happy creating! Fourth of July
No comments:
Post a Comment